


Charging the 12V LEAD ACID Beast with Beauty
 View
View
Charging the 12V LEAD ACID Beast with Beauty
If you own a motorcycle, you already know the pain. I was little out of station for a couple of weeks and when I came home and gave a push to my bike, there was nothing. The battery is dead. Lead-acid batteries self-discharge over time, and if you don't ride often enough, the battery just slowly dies on you. Buying a new battery every few months is not an option. So, I used to charge manually on a workstation which costs me time and money. Even though most of them are using just a transformer with a rectifier, no regulation, no protection, just brute force current being dumped into the battery. But I am an electronics engineer and that’s how I decided to give a try to lead acid battery charging.
The one that actually understands how to charge a battery properly. With trickle charge for deeply discharged batteries, constant current for bulk charging, over-charge for topping it off, and float charge to keep it maintained without overcharging. The whole charging profile, done right. That's where the CN3767 comes in. It's a dedicated 12V lead-acid battery charger controller IC from Consonance Electronics that does everything I just described. I have designed a PCB in EasyEDA and fabricated it from JLCPCB and tested out the final prototype.
PCB Design

You can download the Gerber files along with BOM and CPL from here. I have used JLCPCB for manufacturing because their services are available in a wide domain with reasonable prices. And because I have designed the PCB in easyEDA online which has an integration with JLCPCB. At least this can give me a peace of mind over the files.
Testing & Results: I set up a DC bench power supply set to 18V and took a 12V/7Ah lead-acid motorcycle battery. For monitoring put the multimeter on battery terminals, current clamp on charge line. There may be drop in wires and across device so the voltage at power supply and battery end may vary.
Constant Current (CC) Mode Test:
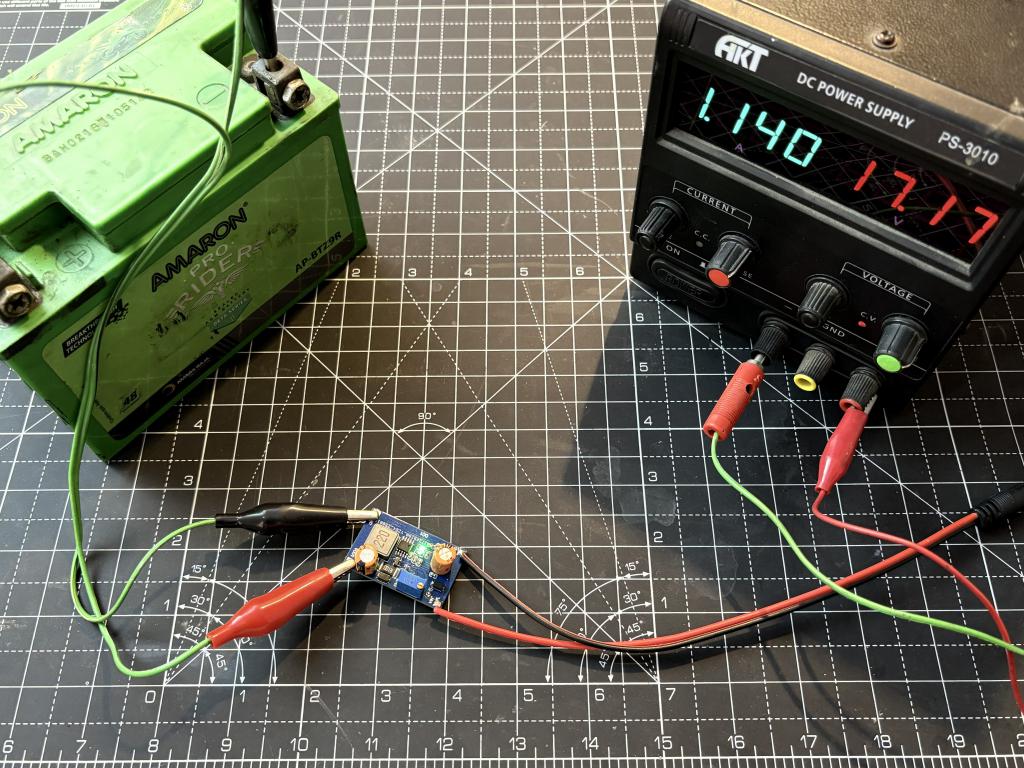
With the battery at around 12V, I connected the charger. The red CHRG LED immediately lit up, confirming the charger entered the charging state. The current stayed rock-steady at approximately 1A throughout the CC phase. That's the CN3767 doing its job, regulating the current via the sense resistor feedback loop.
Constant Voltage (CV) Mode Test:
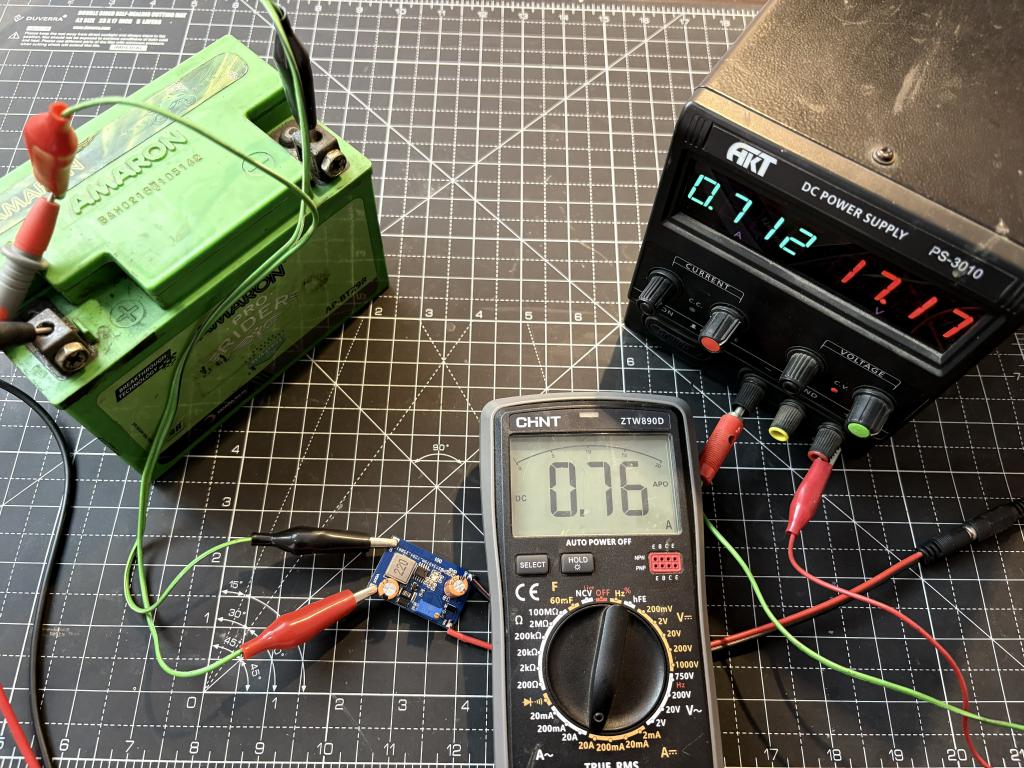
As the battery voltage approached 14.8V, I observed the transition to over-charge mode. The voltage locked at 14.8V and current started tapering down from 1A. This is the critical phase where the charger is topping off the battery. The voltage holds steady while the current gradually decreases as the battery reaches full capacity.
Outro: Building a proper battery charger is not that hard when you have the right IC. The CN3767 takes care of the entire charging algorithm. Even though I am going to sell some pieces to my motorcycle repair shop, so everyone who needs a proper solution can get this design. I will increase the rating to maybe 3A in CC mode for faster charging. Motorcycle batteries can easily handle up to 5A. We have seen that the transition from CC to CV mode is smooth, the regulation voltages are accurate, and the LED indicators give clear feedback on the charging state. The best part? That MPPT input means I can slap a small solar panel on the bike someday and have a self-maintaining battery system. Charging the beast with beauty, indeed.
#PCB#
 #PCB#
#PCB#
Sign In Or Register Comment after
No comments yet. Be the first to comment!