


 View
View
Because I am a sound lover, and in recent times I have done a lot of research on audio-related products. But I am always curious to measure the sound performance in terms of dB(A). In that way, when the amplifier is in steady state, I can measure the total output noise due to the surroundings. Because decibels are a logarithmic scale, it usually starts from a very light value, and it can also measure very high values. I have many options, as someone on the internet says, there are phone apps that claim to measure sound levels, but let's be honest, a phone microphone is designed for voice calls, not calibrated acoustic measurement.
So if you want to measure actual sound output, there are professional sound level meters, but they start at a couple of hundred dollars. But I wanted something in between a handheld dB meter that's actually accurate and battery-friendly. When I was searching the web, I came across the DFRobot Gravity Analog Sound Level Meter. This little board has a professional-grade MEMS microphone with proper signal conditioning. It has an A-weighting filter and a beautifully simple analog output. The voltage coming out is linearly proportional to decibels. So, no complex DSP, no FFT, just read an analog pin and multiply. I paired it with my own designed Arduino from JLCPCB and a 0.96" OLED display, and that’s how I got myself a proper handheld dB meter.
How the Code Works:
Because the sensitivity and conversions are based on ADC and they work on a reference. If that reference voltage is stable the readings are accurate. Arduino's 5V rail can vary from 4.6V to 5.2V depending on the host. And when running on battery, over the time as the battery discharges, there will be variations. To eliminate this issue, we used the `readVcc() function which takes the reference from the internal 1.1V bandgap of Arduino. This gives us the true supply voltage in millivolts, which we use in the dB calculation.
Raw sensor readings can be noisy. The code uses a circular buffer of 10 samples to compute a running average. This smooths out spikes while still responding quickly to changes (10 samples x 125ms = 1.25 seconds of averaging).
Here is how the ADC conversion is done:
A perfectly linear 0.6V-to-2.6V range mapping to 30-130 dBA. No lookup tables, no polynomial curve fitting, no complex calibration. Just multiply by 50. That's it. 0.6V = 30 dBA, 2.6V = 130 dBA.
dbValue = (analogRead(A0) / 1024.0) \* Vref \* 50.0;
Testing and Working:
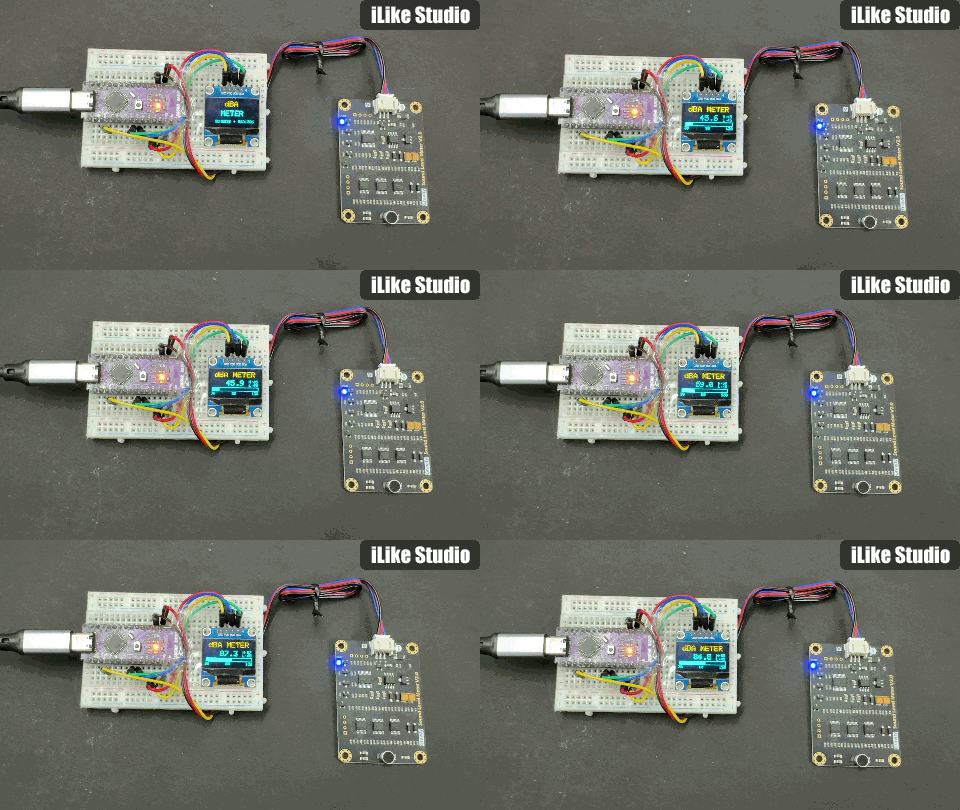
I have tested the output in different scenarios, and it is working perfectly. Best to pair it directly with the Arduino with a soldering connection; a loose one may give you noise.
Testing with Songs:
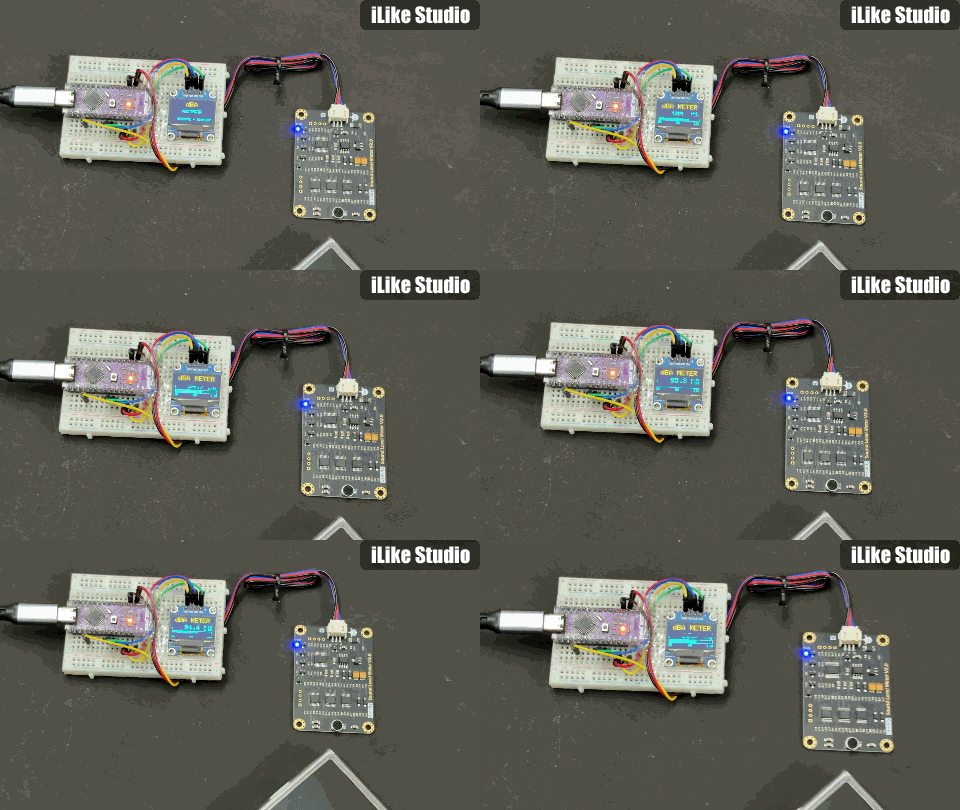
Testing during conversation:
#PCB# #SOUND# #DB METER#
 #PCB#
#SOUND#
#DBMETER#
#PCB#
#SOUND#
#DBMETER#
Sign In Or Register Comment after
No comments yet. Be the first to comment!