Watchdog Timer vs Reset Circuit: They Solve Different Problems

When an embedded device suddenly stops working, engineers often think about adding a reset circuit or enabling a watchdog timer. Both solutions can recover a system from failure, but they are designed to solve different problems.

A reset circuit focuses on monitoring the hardware condition of the power supply and ensuring the microcontroller starts correctly. A watchdog timer focuses on detecting firmware execution problems and forcing recovery when the software stops responding.

Although they may appear similar, using one does not always replace the other. Reliable embedded products often use both techniques together.

image.png

Understanding Reset Circuits

A reset circuit ensures that the microcontroller starts in a known condition.

During power-up, the supply voltage may rise slowly or contain temporary instability. Without proper reset handling, the MCU may start executing before the voltage becomes reliable.

A voltage supervisor monitors the supply level and keeps the reset pin active until the voltage reaches a safe operating point.

Reset ICs are commonly used in:

  • Industrial controllers
  • Battery-powered products
  • Safety-critical electronics
  • Consumer devices

Understanding Watchdog Timers

A watchdog timer monitors whether the firmware continues running normally.

The software periodically sends a refresh signal to the watchdog. If the firmware becomes stuck due to an infinite loop, memory issue, or communication failure, the watchdog times out and resets the system.

Typical causes that watchdogs help recover from:

  • Firmware deadlock
  • Communication freeze
  • Unexpected software behavior
  • Task failure in RTOS systems

image.png

Why Many Products Use Both

A reliable embedded product usually needs protection against both hardware and software failures.

Example:

A smart industrial controller may experience:

  • Power fluctuations from motors.
  • Firmware communication problems.
  • Unexpected sensor behavior.

A reset supervisor can handle unstable power conditions, while a watchdog timer can recover from software failures.

Together, they provide a stronger recovery mechanism.

image.png

Recommended Devices

Device Type Typical Application
TPS3839 Voltage Supervisor Low-power MCU reset
MAX809 Reset IC Simple MCU reset control
STM32 Independent Watchdog Internal WDT Industrial embedded systems
ESP32 Task Watchdog Software/Hardware WDT IoT devices

Engineering Tip

A watchdog cannot fix a hardware power problem, and a reset IC cannot detect a firmware deadlock. First identify whether the failure comes from power or software before choosing a recovery method.

Reset circuits and watchdog timers are often mentioned together, but they protect embedded systems from different types of failures. Reset circuits provide reliable startup and power monitoring, while watchdog timers recover from software execution problems.

For products that must operate continuously without human intervention, combining both approaches creates a more robust and dependable embedded design.

#EmbeddedSystems# #WatchdogTimer# #ResetCircuit# #Microcontroller# #SystemReliability# #Electronics#

Embedded Systems2
Why Sensor Signals Need Signal Conditioning Before the ADC

Many sensors can measure real-world parameters such as temperature, pressure, force, and light intensity. However, the signal produced by a sensor is not always ready to be connected directly to a microcontroller ADC.

A sensor output may be too small, too noisy, too slow, or outside the ADC input range. Connecting it directly can result in inaccurate measurements or unstable readings.

This is why many electronic systems use signal conditioning circuits before the ADC stage. These circuits prepare the sensor output so the microcontroller can measure it more accurately and reliably.

Signal conditioning is commonly used in industrial measurement systems, medical devices, IoT sensors, and automation equipment.

image.png

Why Raw Sensor Signals Are Difficult to Measure

Different sensors produce different types of output signals.

Some sensors generate very small voltages, such as strain gauges and thermocouples. Others may produce signals with electrical noise from the environment or require impedance matching before measurement.

Common problems include:

  • Signal amplitude is too low.
  • High-frequency noise interference.
  • Sensor output impedance too high.
  • Voltage range not matching the ADC input.

Without proper conditioning, the ADC may not utilize its available resolution effectively.

Common Signal Conditioning Techniques

Amplification

Small sensor signals often need amplification before entering the ADC.

For example, a load cell may produce only a few millivolts, requiring an instrumentation amplifier to increase the signal level.

Filtering

Filters remove unwanted noise from the measurement signal.

An RC low-pass filter is commonly used to reduce high-frequency interference before sampling.

Buffering

A voltage buffer prevents the sensor from being loaded by the ADC input.

This is useful for sensors with high output impedance.

image.png

Example Application: Load Cell Measurement

A load cell is a good example of why signal conditioning is required.

The output voltage from a strain gauge load cell is extremely small and usually cannot be measured accurately by a microcontroller ADC directly.

A typical system uses:

  • Wheatstone bridge sensor
  • Instrumentation amplifier
  • Low-pass filter
  • ADC converter

This combination increases signal accuracy and improves resistance against electrical noise.

image.png

Recommended Components

Device Type Typical Application
INA333 Instrumentation Amplifier Sensor measurement
OPA320 Precision Op-Amp Analog buffering
MCP6002 Low Power Op-Amp Battery sensor systems
ADS1115 16-bit ADC High-resolution measurement

Engineering Tip

A high-resolution ADC cannot recover information that was lost because of a noisy or poorly conditioned signal. Good measurement starts before the ADC stage.

Signal conditioning is an essential part of reliable measurement systems. Sensors rarely produce perfect signals, and the role of analog circuitry is to prepare these signals before digital conversion.

By applying amplification, filtering, and buffering techniques, engineers can improve accuracy, reduce noise, and create measurement systems that perform reliably in real-world conditions.

#AnalogAndSignal# #SignalConditioning# #ADC# #Sensors# #EmbeddedSystems# #Electronics#

Analog & Signal
Bulk Capacitor vs Decoupling Capacitor: Why Your Circuit Needs Both

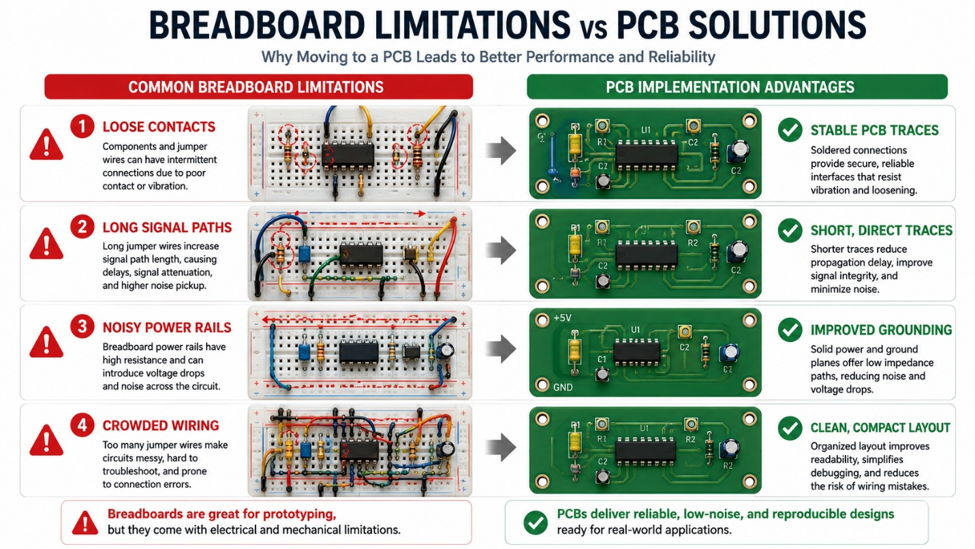
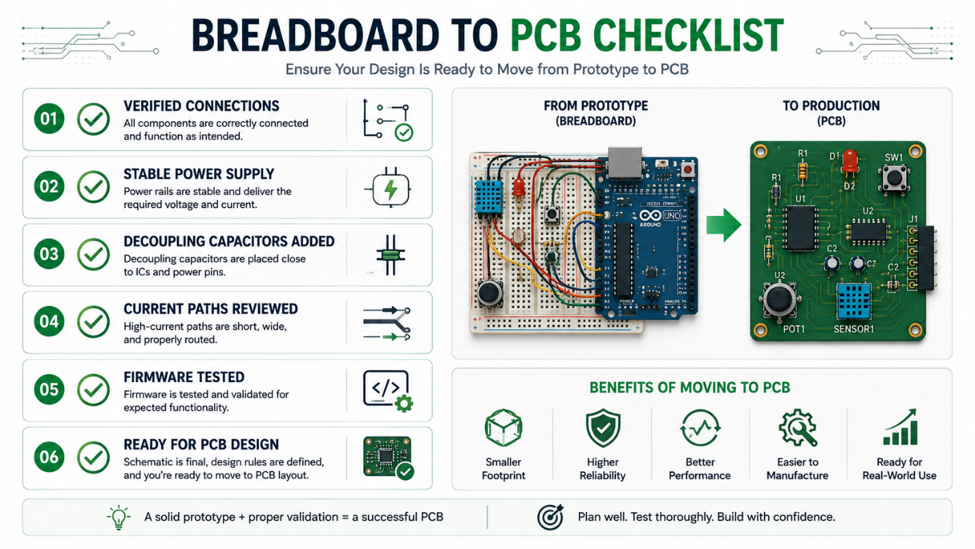
Many electronic designs include several capacitors around the power supply, but not every capacitor has the same purpose. A common mistake is assuming that adding one large capacitor is enough to stabilize the entire circuit.

Different capacitors handle different types of electrical disturbances. A bulk capacitor provides energy during larger load changes, while a decoupling capacitor handles fast transient noise generated by digital switching.

Using the wrong capacitor type or placing it in the wrong location can lead to unstable microcontrollers, communication errors, and unexpected resets.

Understanding the difference between these two capacitors helps engineers design cleaner and more reliable power systems.

image.png

Understanding Bulk Capacitors

A bulk capacitor is designed to store a larger amount of electrical energy and support the circuit during sudden changes in current demand.

Typical examples include:

  • Power input filtering
  • Motor driver circuits
  • Voltage regulator outputs
  • Battery-powered systems

When the load suddenly increases, the bulk capacitor can temporarily supply additional current while the power source responds.

Common values range from tens to hundreds of microfarads, depending on the application.

Understanding Decoupling Capacitors

Digital ICs such as microcontrollers, processors, and communication chips switch millions of times per second. These rapid changes create short current spikes that cannot be supplied efficiently through long PCB traces.

A small ceramic capacitor placed close to the IC power pin provides this local current source.

Typical values include:

  • 100 nF for high-frequency noise
  • 1 µF for additional transient support

The shorter the connection between the capacitor and the IC, the better the high-frequency performance.

image.png

Common Design Mistakes

Several mistakes frequently appear in prototype designs:

Using Only Large Capacitors

A 470 µF capacitor may stabilize slow voltage changes but cannot effectively filter high-frequency switching noise.

Placing Decoupling Capacitors Too Far Away

A 100 nF capacitor placed several centimeters from an IC may lose much of its effectiveness because PCB trace inductance limits its high-frequency response.

Ignoring Datasheet Recommendations

Many IC manufacturers provide recommended capacitor values and placement guidelines for reliable operation.

Engineering Note

Capacitor value is important, but placement is equally important. A perfect capacitor in the wrong location may perform worse than a smaller capacitor placed correctly.

Recommended Components

Device Type Typical Application
Murata GRM188R71H104KA93 100 nF Ceramic IC decoupling
Murata GRM188R60J105KA01 1 µF Ceramic Local filtering
Panasonic FR Series Electrolytic Power input smoothing
Nichicon UHE Series Electrolytic Bulk energy storage

Quick Selection Guide

Choose:

Bulk Capacitor when:

  • Load changes are large.
  • Power supply ripples need reduction.
  • Motors or switching loads are present.

Decoupling Capacitor when:

  • Digital ICs switch rapidly.
  • High-frequency noise must be reduced.
  • Stable MCU operation is required.

Bulk capacitors and decoupling capacitors are not competing solutions. They work together to maintain stable power delivery across different frequency ranges.

A reliable electronic design requires both sufficient energy storage and fast local current support. By understanding their different roles and placing them correctly, engineers can prevent many power-related problems before they appear during testing.

#PowerAndEnergy# #Capacitor# #PowerIntegrity# #PCBDesign# #EmbeddedSystems# #Electronics#

Power & Engery